Guide
How to scan a document to PDF on iPhone
The fastest way to scan a document to PDF on an iPhone is the Notes app: open a note, tap the camera button, choose Scan Documents, hold the phone over the page until it captures automatically, then tap Save and share the note as a PDF. The Files app does the same thing and saves straight to a folder. Use a dedicated scanner app when you need searchable text, a signature, a password or a document longer than a few pages.
Method 1 — the Notes app (already on your iPhone)
Notes has a document scanner built in, and for a one-page letter it is the shortest route there is. Nothing to install, nothing to sign into.
Open a note
Start a new note or open an existing one — the scan is stored inside the note.
Tap the camera button, then Scan Documents
The camera opens in scanning mode rather than normal photo mode.
Hold the phone over the page
A yellow overlay finds the edges and captures automatically when the page is square in frame. Tap the shutter to take it manually if the light is awkward.
Keep or retake
Keep Scan accepts the page; Retake gives you another go. Photograph further pages now if the document has them.
Save, then share as PDF
Tap Save. Then use the share button on the note and choose the PDF option to send the document on.
Method 2 — the Files app (when you want a file, not a note)
Files produces a PDF that lands in a folder instead of inside a note, which is usually what you want if the document has to be attached to something.
Open Files and pick a folder
On My iPhone or an iCloud Drive folder both work.
Tap the three-dot button and choose Scan Documents
Same scanner, different destination.
Capture the pages
Automatic capture works as it does in Notes; multiple pages collect into one document.
Save
The result is a PDF file in that folder, ready to attach or move.
Method 3 — a scanner app, when the built-in one runs out
The system scanner captures pages well and then stops. It does not recognise the text inside a scan, does not sign documents, and does not put a password on a file. If your document needs any of that — or if you are scanning ten pages rather than one — a dedicated app is doing a different job, not the same job with more buttons.
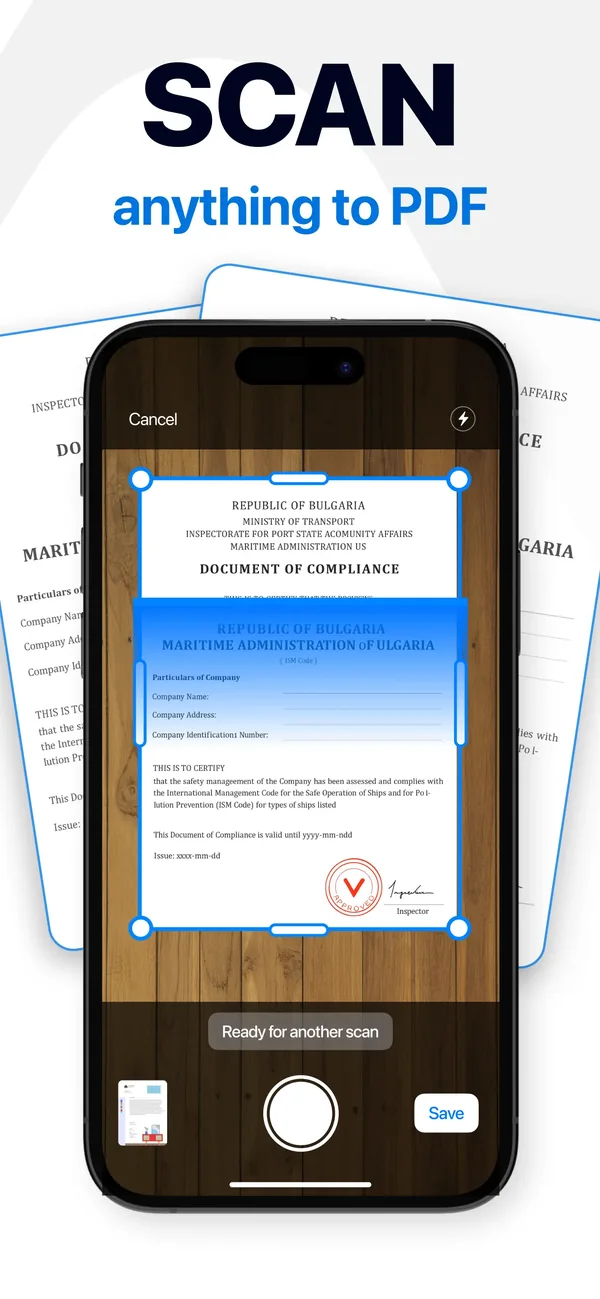
Scan the pages
Choose PDF Scan on the home screen. Edges are detected and perspective corrected automatically, and each new capture is added to the same document.
Recognise the text
Run OCR Text so the words inside the scan can be selected and searched instead of being a flat picture.
Sign or annotate
Add an electronic signature, a watermark, or highlights where they are needed.
Protect it if it is sensitive
Password-protect the file or the folder before it goes anywhere.
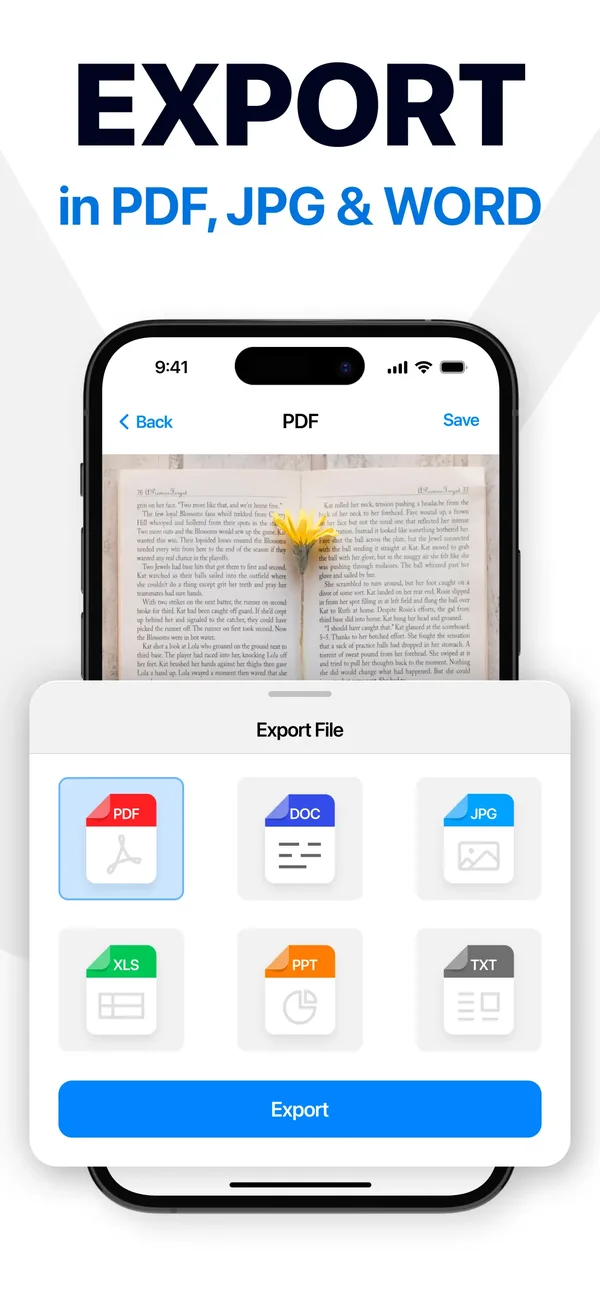
Export or send
Export as PDF, JPG or Word, share by email or messenger, or send it as a fax without leaving the app.
Getting a clean scan
- Light from the side, not from behind you. The most common bad scan is your own shadow across the page.
- Put the page on a surface that contrasts with it — a white sheet on a white table gives edge detection nothing to find.
- Flatten folds first. A crease reads as a page edge and the crop goes wrong.
- Hold the phone parallel to the page. Perspective correction fixes a small angle, not a steep one.
- For a bound book, scan one page at a time and press the spine flat, or the inner edge curves away and blurs.
When this will not work well
- Glossy paper under a bright lamp reflects a hotspot that no amount of processing recovers. Move the light or the page.
- Very faint thermal receipts fade further under contrast enhancement; capture them early.
- A scan is an image of a document. Whether it is acceptable as a legal original — and whether a drawn signature is enough — depends on the document and the country, not on the app.
Common questions
Does the iPhone have a built-in document scanner?
Yes. Both Notes and Files include Apple's document scanner, with automatic edge detection and multi-page capture. No download is needed for basic scanning.
How do I turn the scan into a PDF rather than a photo?
Scanning through Notes or Files produces a PDF directly — a photo taken in the Camera app does not. In Notes, share the note and pick the PDF option; in Files, the saved scan is already a PDF.
Can I scan several pages into one document?
Yes. Keep capturing after the first page and they collect into a single multi-page document in all three methods.
Can I search the text inside a scan?
Only if the text has been recognised. The built-in scanner captures the image; OCR — available in PDF Scanner — is what makes the words selectable and searchable.
How do I scan an ID card?
The same way as a page: put it on a contrasting surface, light it from the side, and capture each face separately. Password-protect the file afterwards if it is being stored.
The app used in this guide
Appenvision publishes the app named in this guide. Where a step can be done with the tools already on your iPhone, that route is described first.
Sources
Official documentation for the system steps and for any general figure quoted. Product behaviour is described from the apps themselves; the sources below cover what is not ours to assert.
How this guide was put together
Written from the shipping iOS builds and the features visible in each app's own screens. Where a number or a behaviour could not be verified from the app or its App Store listing, it is not stated here.
System steps are described against current iOS as of the check date above, and app behaviour against the current App Store build. Exact iOS and app build numbers are added per release once the product team confirms them; where a behaviour depends on your own iOS version or settings, the guide says so rather than assuming.